Refrigeration Area
--
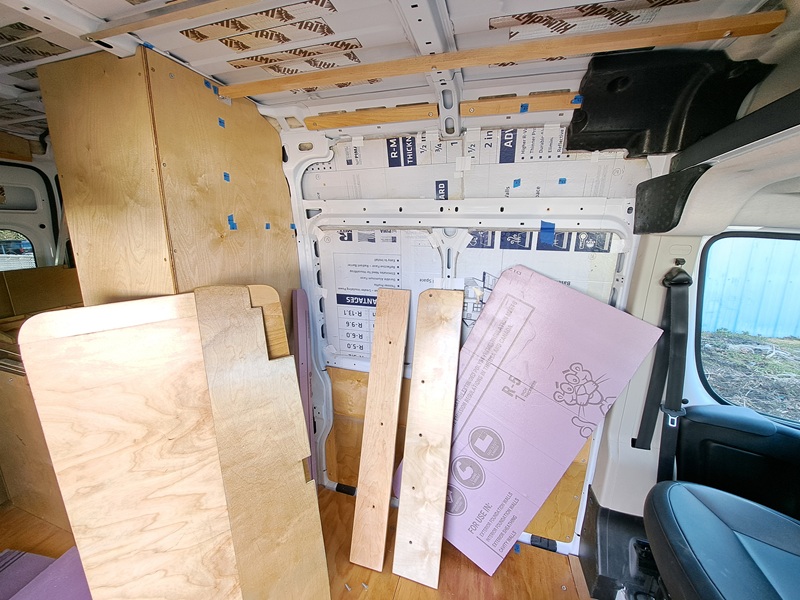
"Refrigeration area" is just a fancy way of saying that this is the
area where my 12 volt cooler will live. The cooler is pretty big, and
takes up much (but not all) of this space. Because it is a "cooler" and
not a "refrigerator", I will need to leave room over the cooler to open
up the lid on top of the cooler. The little areas adjacent to the
cooler will eventually be turned into sliding drawers next winter. And,
there will be a nice big countertop area above the cooler, plus my
overhead storage cabinets above the countertop. Step 1, however, was to
cover up the insulation on the van wall.
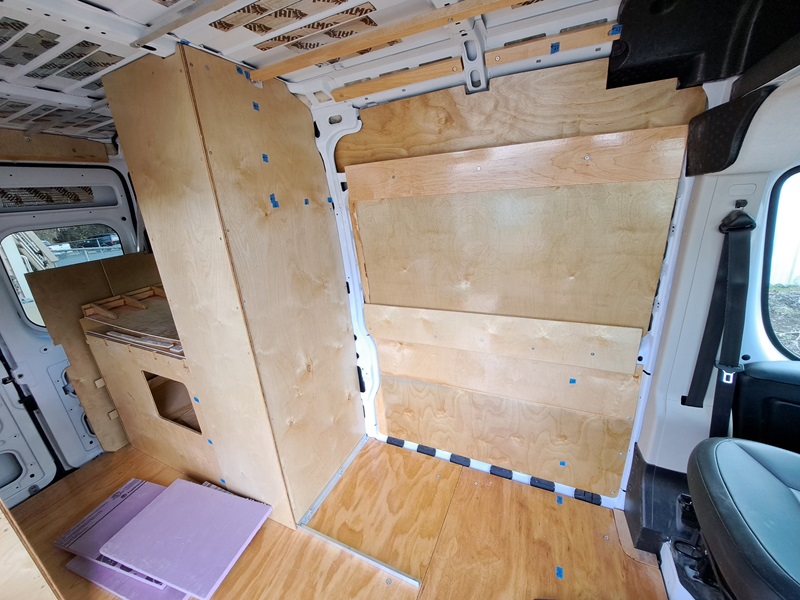
Most of the insulation is now covered. However, you can see
that there is still a lot of steel van structure showing. Another job
for next winter will be to remove most of the plywood in this picture
and cover up as much of that exposed van steel structure as possible.
Any exposed van structure is going to turn the inside of my van into an
ice cube on a cold day.
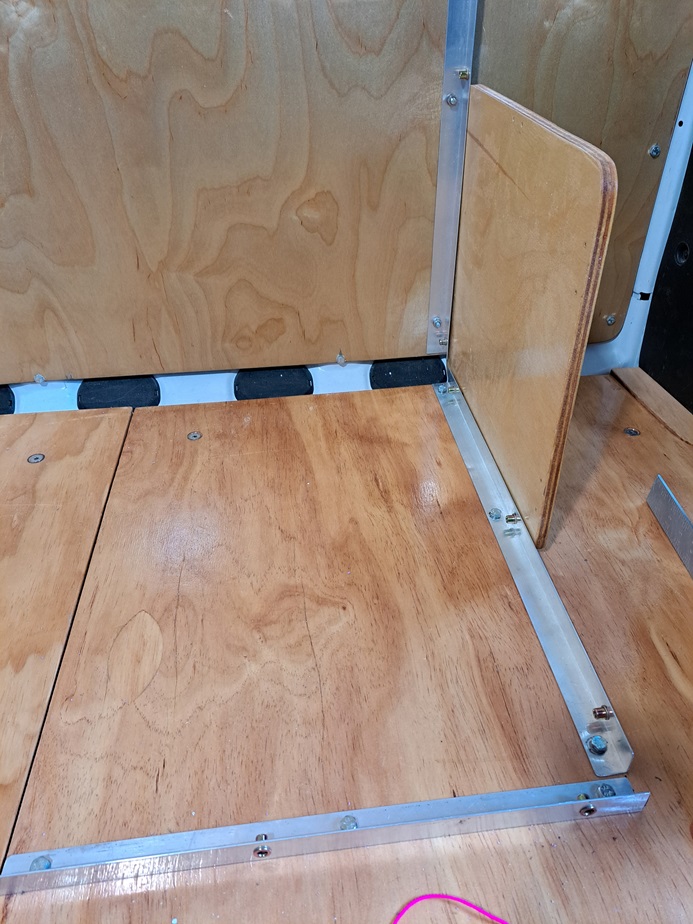
Throughout the van, I have chosen to bolt aluminum angle to the
floors and walls, and then bolt the plywood to the aluminum angle. I
don't think this is common in van builds, but it's the way I decided to
do mine.
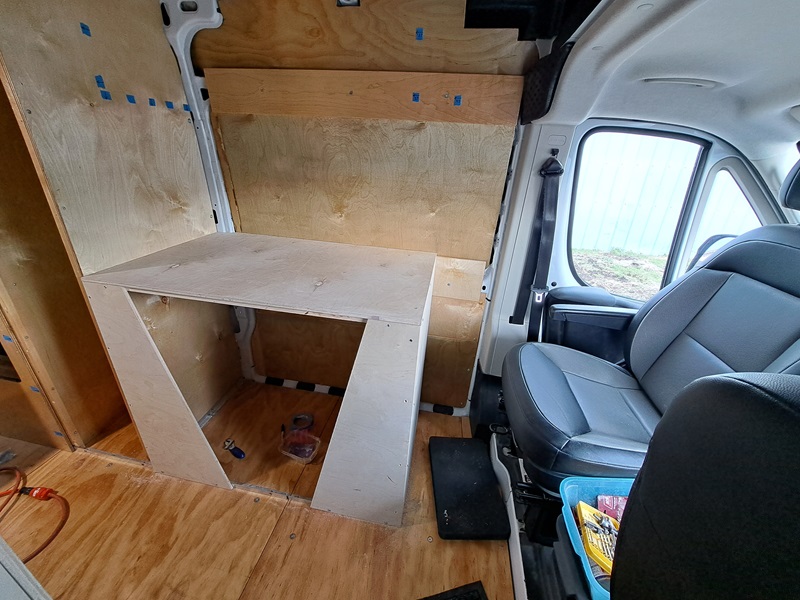
This was as much "refrigeration area" as I had time to do initially.
The cooler sat on the floor inside this plywood area.
Those 2 triangular pieces of wood were both temporary, placed there to give the
countertop some rigidity.
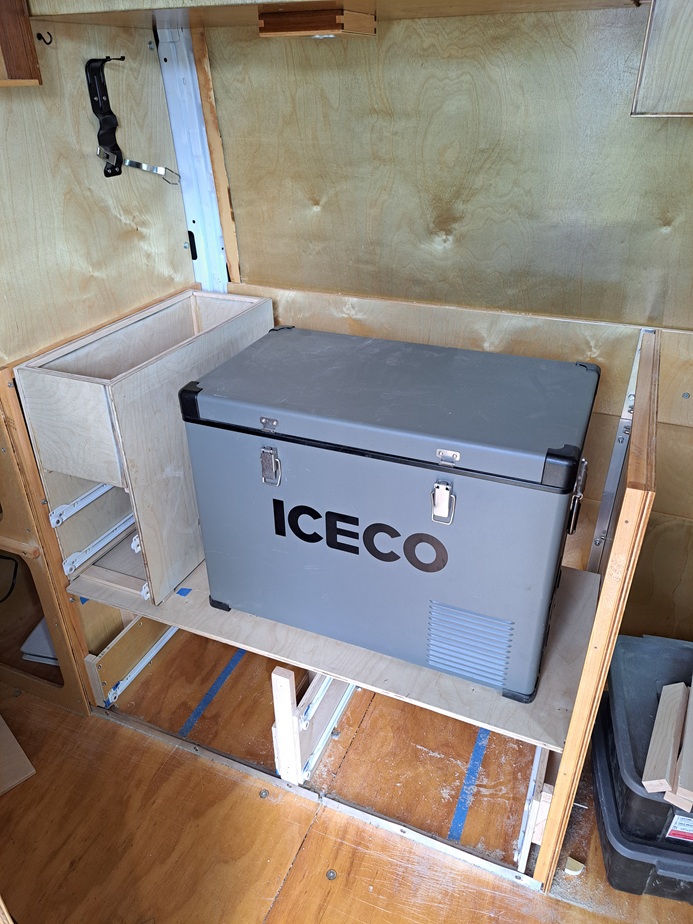
The following winter I raised the cooler roughly 12 inches off the floor. There
was enough spare room to the left of the cooler to add a box for trash and a few
sliding drawers.
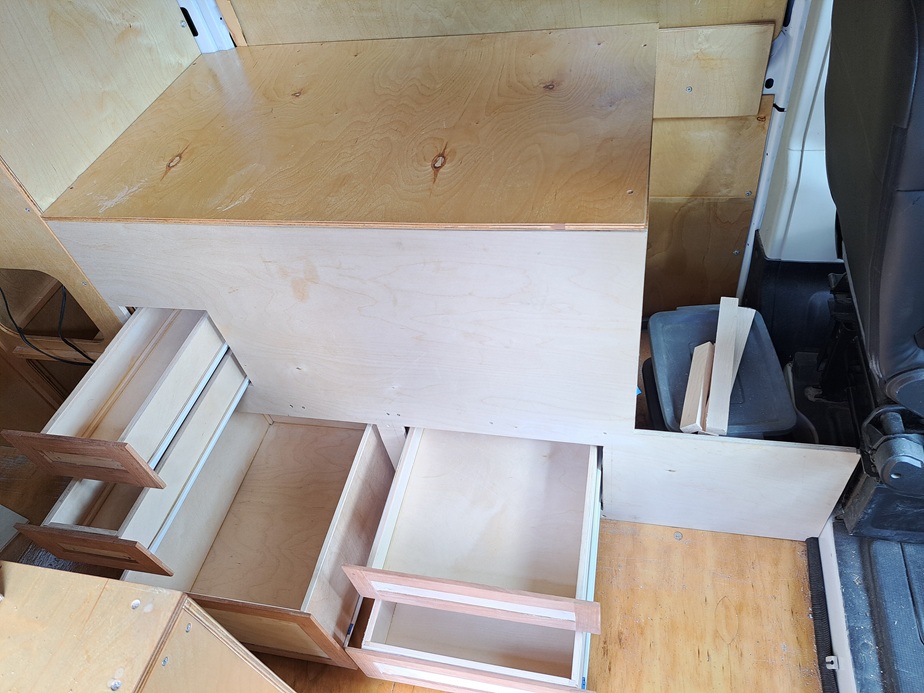
Additional sliding drawers were added beneath the cooler.
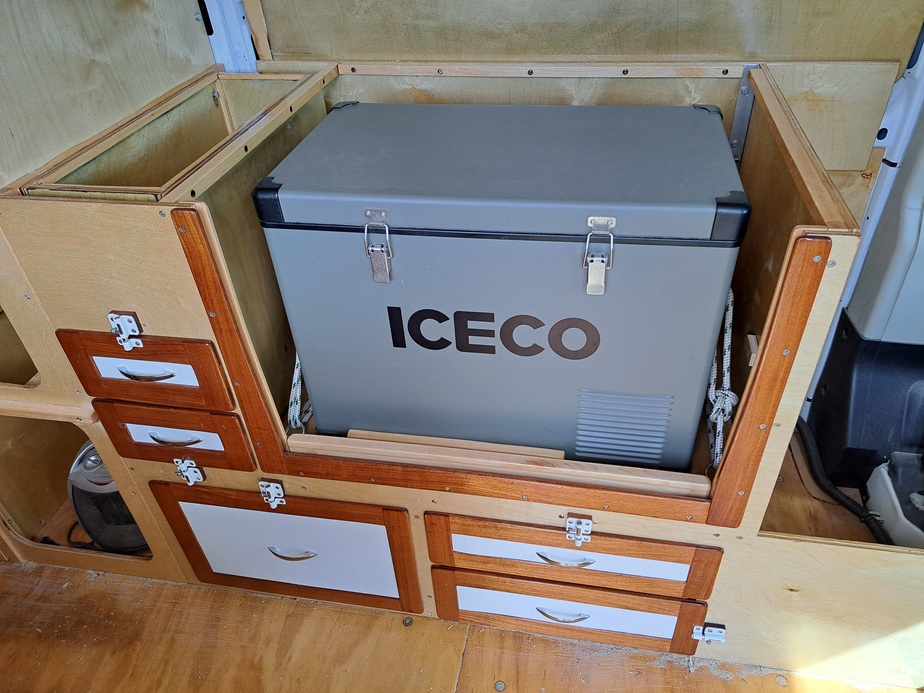
A little varnished teak trim looked pretty good.
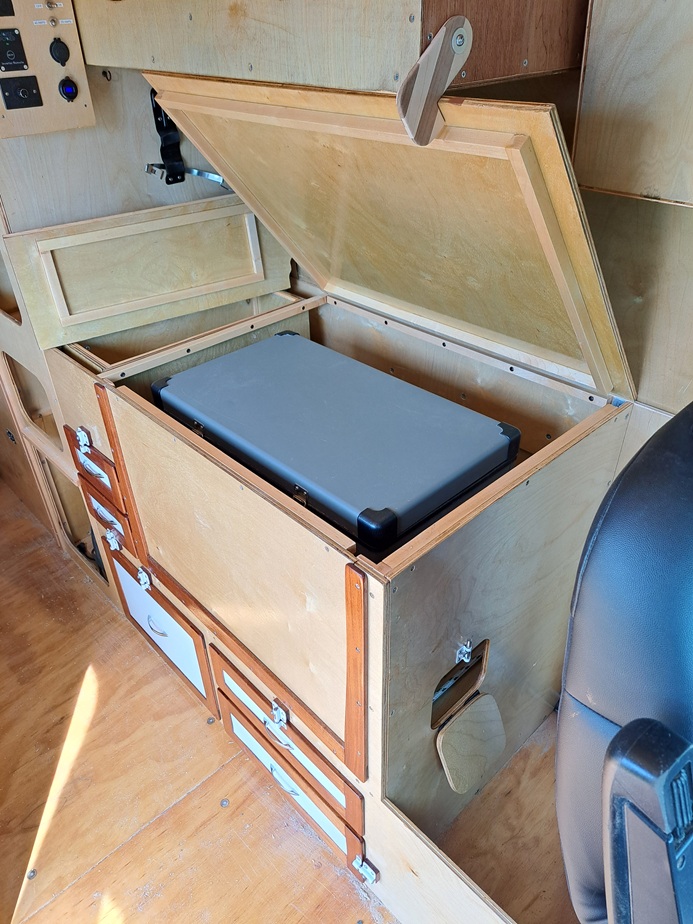
After a meal, a piece of plywood over the cooler creates a countertop area.